Create a map
New maps can be created from the Maps tab or from a layer.

Create a new map from a layer
In the Layers tab, click on the “Create a map” button next to a layer

Create a Map from a Layer
A new map will open with the layer as part of the map.
Add layers to a map
Once you have created a map, or opened an existing map, you can add additional layers.
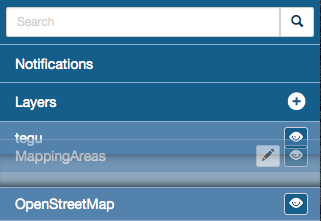
Click on the Add Layers button by “Layers”
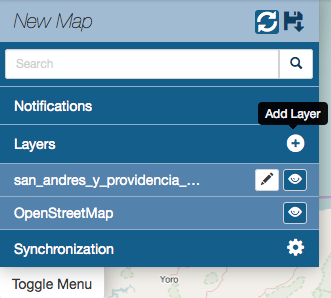
Add layer
The Add Layers dialog will open.
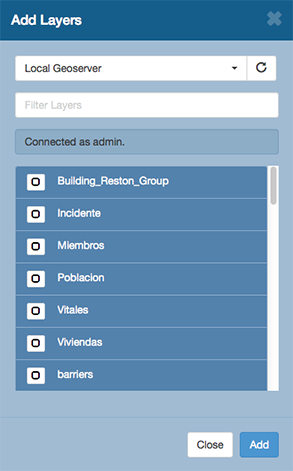
Click on the checkbox for the layer(s) you want to add to the map.
Click the Add button.
Add layers from another server
You can add layers from other servers besides the Geoshape you’re working with. These servers include web mapping servers (WMS) and tile servers.
Click on the Add Layers button by “Layers”
Add layer
In the Add Layers dialog, click on the drop down for the server list
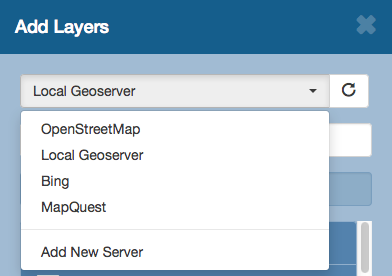
Add new server
Click on Add New Server
In the Add Server dialog enter the type of server (WMS or TMS), a name for the server, and the URL.
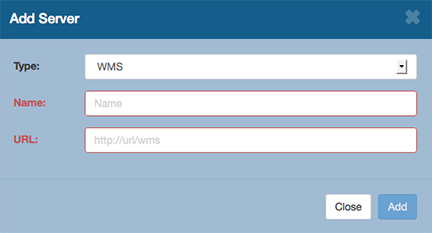
Server details
Click Add to save the server. Once you have added the server, you can select it and add layers to the map.
Change layer order
Layers are drawn on the map from bottom to top. The top layer in your layer list will also be on top in the map. Sometimes you need to reorder layers. The following steps explain how.
Click on the name of the layer you want to move.
Drag the layer up or down to change it’s position in the drawing order.
Change layer order
Release the mouse button to finish moving the layer.
Toggle layer visibility
You can turn on and off the visibility for layers in the map. This allows you to “hide” a layer without having to remove it from the map.
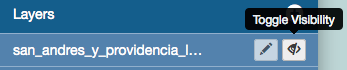
Click on the Toggle Visibility button to turn a layer off.

Click on the Toggle Visibility button again to turn it back on.
Zoom to data
The Zoom to data button give you a convenient way to center the map on a layer. Clicking the Zoom to data button zooms the map to the extent of the data currently in that layer.
Click on the layer name in the layer list in the map. The menu will expand to display additional tools.
Click on the Zoom to data button. The map will zoom to the extent of the data for that layer.
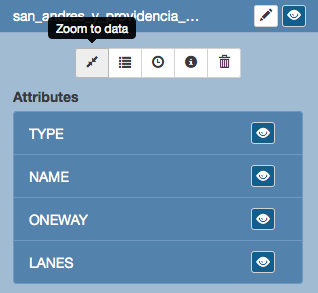
Zoom to data button
Note: if a layer’s visibility is dependent on scale, and the data extent is at a smaller scale, you will have to zoom in to be able to view the data.
Show layer info
You can view information about a layer in the map. Layer information will include information about the server, basic metadata, and the projection (SRS).
Click on the layer name in the layer list to expand the layer options.
Click on the Show layer info button. The Layer Info window will appear.
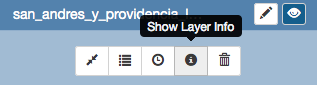
Show layer info button
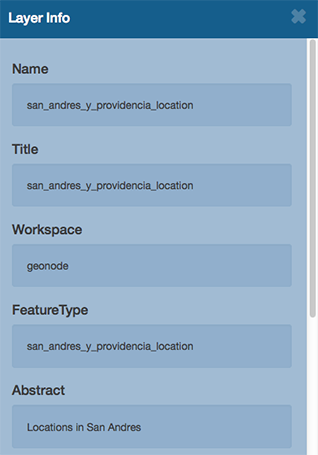
Layer info
Remove a layer from the map
You can remove a layer from the map.
Click on the name of the layer you want to remove. The menu will expand to show all of the options for that layer
Click on the Remove Layer button.

Remove layer button
In the confirmation box, click Yes to remove the layer.
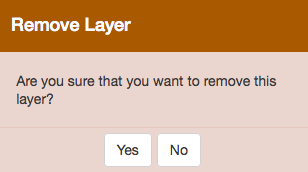
Remove layer confirmation
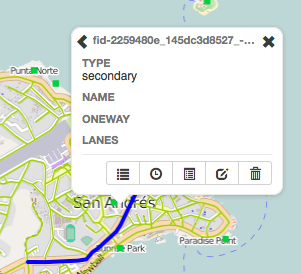
Get feature information
In order to get information for features in a vector layer, simply click on the feature in the map.
Click on the feature you want information about. The feature info window will appear.
Change attribute visibility
You can control the attributes that appear in the feature info window. This is useful when a layer has a large number of fields.
Click on the the layer name in the layer list in the map. The layer will expand to show additional options.
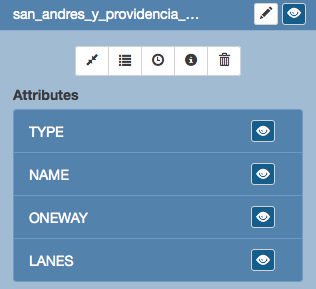
Layer attributes
Click on the visibility icon for the attributes to toggle their visibility.
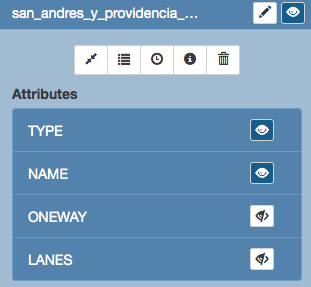
Layer visibility options
Click on a feature in that layer. You will see that the attribute fields are now hidden.
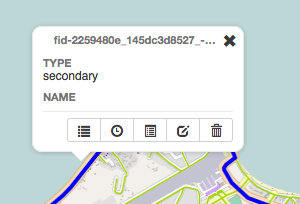
Feature info with hidden fields
Using the Legend
The legend displays the symbols used for vector layers in the map (not for imagery). It can be closed to gain screen space and opened when needed. In addition, you can collapse the legend as desired.
Toggle the legend by clicking on the Toggle Legend button.
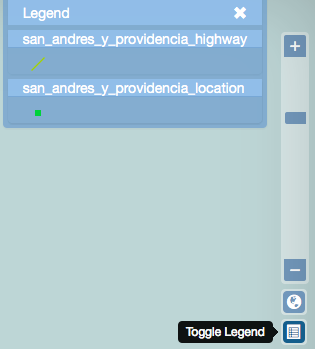
Click the Toggle Legend button to open and close the legend
To collapse or expand a layer in the legend, simply click on the layer name in the Legend window.
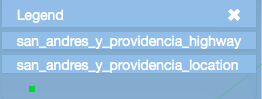
Legend with one layer collapsed
Save a map
Saving a map preserves your preferences and makes it available for other Geoshape users.
Click on the Save Map button in the toolbar.
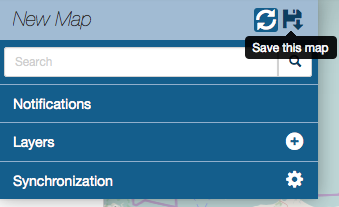
Save map button
Enter a title and abstract for your map.
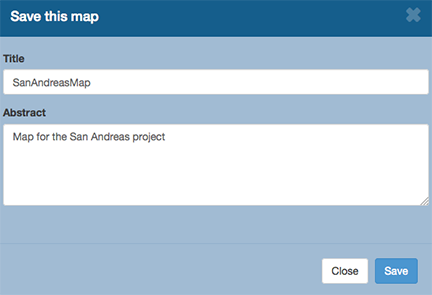
Save map dialog
Click Save. Notice that the link on the top right of the page changed to reflect the map’s name.
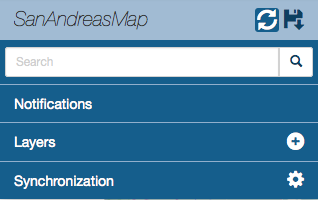
Saved map name
The map is now saved in the list of maps on the Maps page.
Create a copy of a map
You can also use a map as a starting point for another map. This allows you to build on the work of others without changing their maps.
Click on the Save Map button in the toolbar.
Save map button
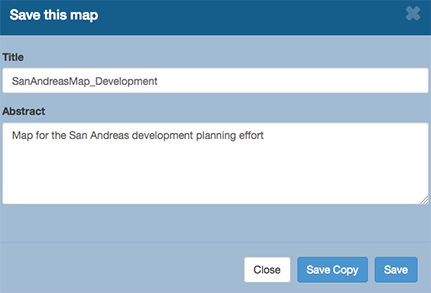
Enter a title and abstract for your map.
Save map dialog
Click Save Copy. Notice that the link on the top right of the page changed to reflect the map’s name.
Saved map name
The map is now saved in the list of maps on the Maps page.