Edit Features
Vector layers can be set up so that they’re editable. If you have permissions to edit a layer, the editing tools will be available in the map. If a layer is a Geogig layer, then you can work with the edit history as well.
Add a simple point feature to a layer
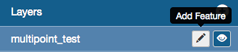
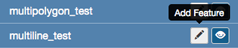
If a layer is editable, then the Add Feature button will be available next to the layer name.
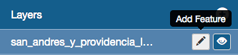
Add feature button
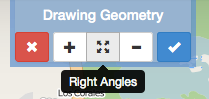
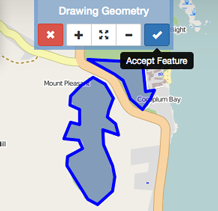
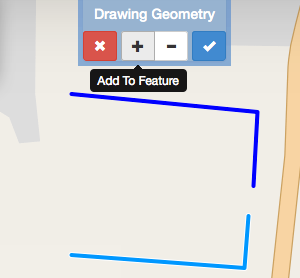
Click the Add Feature button. The Drawing Geometry dialog will appear at the top of the map.
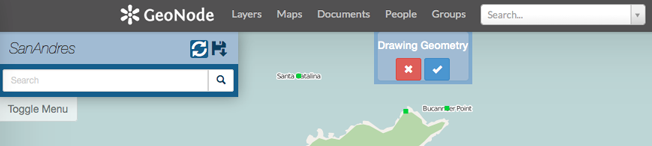
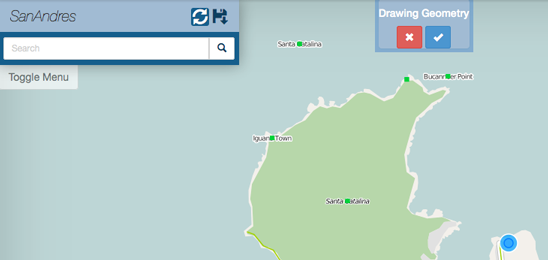
Click on the map to add the geometry. A simple point is placed with one click. The sections below provide additional detail on editing different types of features.
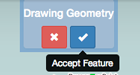
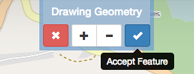
Click on the Accept Feature button to keep the geometry. If you don’t want to keep the feature, click the X for the Cancel Feature button.
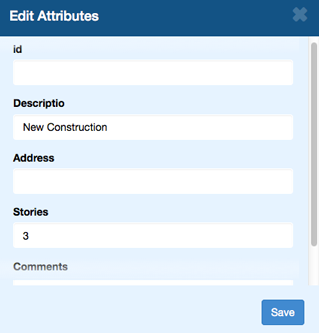
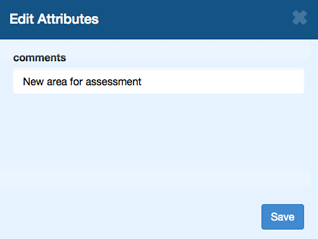
Once you click on Accept Feature the Edit Attributes window will open. Type in the fields or select values from the dropdowns to add attribute values.
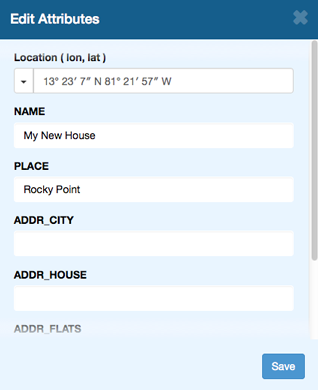
Click the Save button at the bottom of the form to save the feature to the layer.
Add a multipoint feature to a layer
Multipoint features can have more than one point per feature. Each point can have a different location but all will have the same attributes and the feature will be treated as if it were a single point.
Click the Add Feature button. The Drawing Geometry dialog will appear at the top of the screen.
Click on the map to add the first point. Click on the Add Geometry button to add another point. Continue to add points for the feature as needed.
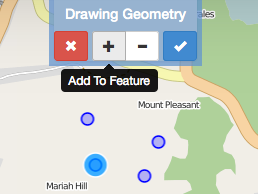
Click on the Accept Feature button to keep the geometries.
Once you click on Accept Feature the Edit Attributes window will open. Type in the fields or select values from the dropdowns to add attribute values. .. figure:: img/en_editattribmulti.png
Click the Save button at the bottom of the form to save the feature to the layer.
Add a polygon feature to a layer
A simple polygon layer has a single polygon per feature.
Click on the Add Feature button. The Drawing Geometry dialog will appear at the top of the screen.
Click on the map to begin adding the polygon. Continue to click to add all of the vertices. To finalize the polygon, close the geometry by clicking on the first vertice again.
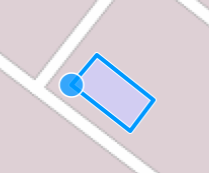
If you want the polygon to have right angle corners, you can click on the right angle button.
Click on the Accept Feature button to keep the geometry. If you don’t want to keep the feature, click the X for the Cancel Feature button.
Once you click on Accept Feature the Edit Attributes window will open. Type in the fields or select values from the dropdowns to add attribute values.
Click the Save button at the bottom of the form to save the feature to the layer.
Add a multipoylgon feature to a layer
A multipolygon layer has one or more polygons per feature. A couple of examples of multipoygons are the islands that make up New Zealand and properties owned by someone on a single title but are not adjacent.
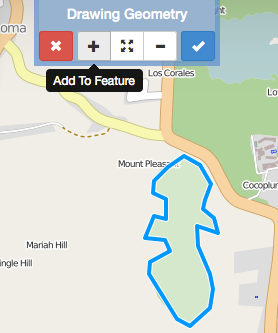
Click on the Add Feature button. The Drawing Geometry dialog will appear at the top of the screen.

Click on the map to begin adding the polygon. Continue to click to add all of the vertices. To finalize the polygon, close the geometry by clicking on the first vertice again. To add another polygon, click on the Add Geometry button. Repeat the process to add polygons as needed.
If you want the polygon to have square corners, you can click on the right angle button.
Click on the Accept Feature button to keep the geometries.
Once you click on Accept Feature the Edit Attributes window will open. Type in the fields or select values from the dropdowns to add attribute values.
Click the Save button at the bottom of the form to save the feature to the layer.
Add a line to a layer
A line layer consists of lines that represent features - such as roads, powerlines, and other features.
Click on the Add Feature button. The Drawing Geometry dialog will appear at the top of the screen.
Click on the map to begin adding the linear feature. Continue to click to add all of the vertices. To finalize the line, double-click on the last vertice.
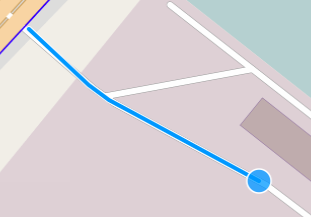
Click on the Accept Feature button to keep the geometries.
Once you click on Accept Feature the Edit Attributes window will open. Type in the fields or select values from the dropdowns to add attribute values.
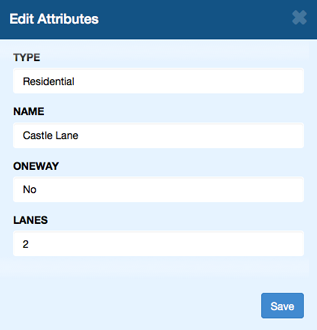
Click the Save button at the bottom of the form to save the feature to the layer.
Add a multiline to a layer
A multiline layer has one or more lines per feature.
Click on the Add Feature button. The Drawing Geometry dialog will appear at the top of the screen.
Click on the map to begin adding the linear feature. Continue to click to add all of the vertices. To finalize the line, double-click on the last vertice. To add another line, click on the Add Geometry button. Repeat the process to add polygons as needed.
Click on the Accept Feature button to keep the geometries.
Once you click on Accept Feature the Edit Attributes window will open. Type in the fields or select values from the dropdowns to add attribute values.
Click the Save button at the bottom of the form to save the feature to the layer.
Edit attributes
You can edit the attributes for any features in an editable layer.
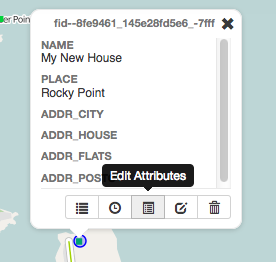
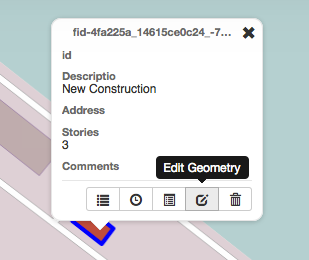
Click on the feature on the map. The feature info box will appear.
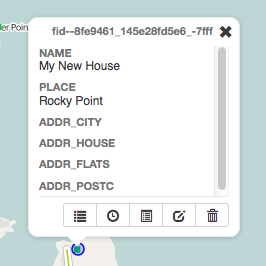
Click on the Edit Attibutes button. The Edit Attributes window will appear.
Type in the fields or select dropdown values for the fields you want to edit.
Click the Save button at the bottom of the form to save the attribute updates.
Edit point geometries on the map
Point layers can be one of two types: simple points and multipoints. For simple points, there is one point per feature. Multipoints can have one or more points per feature.
Click on the point feature on the map. The feature info box will appear.
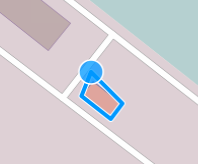
Click on the Edit Geometry button. The Drawing Geometry dialog will appear at the top of the screen, and the selected feature will be highlighted in blue.
Click on the feature and drag it to the new location.
Click on the Accept Feature button to keep the feature. To cancel the edit, click on the Cancel Feature button.
Edit point geometry manually
With point geometries, you can also manually edit the coordinates. This is useful when you have the coordinates from another source (such as a report).
Click on the point feature on the map. The feature info box will appear.
Click on the Edit Attributes button. The Edit Attributes window will appear.
Click the Save button at the bottom of the form to save the attribute updates.
Edit polygon and line geometries
Any existing features in an editable layer can be modified. If it is a Geogig layer, the history of all of the edits will be maintain to ensure the provenance of the data.
Click on the feature you want to edit. The feature info box will appear.
Click on the Edit Geometry button. The Drawing Geometry dialog will appear at the top of the screen.
Move the mouse over the geometry to highlight the vertice you want to edit. To move the vertice, click and drag it. Repeat this process until you have completed editing.
Click on the Accept Feature button to keep the feature. To cancel the edit, click on the Cancel Feature button.