Merging Branches
Merge is used to pull in changes from one branch to another within the same repository. A branch is a different version of the data in the same repository. Branches can be set up within GeoServer by someone with admin privileges. Merge can be used for branches in the same repository. In order to merge two branches, the layers need to be added to the map. The following will describe a scenario of merging master with a branch.
Merge Two Branches
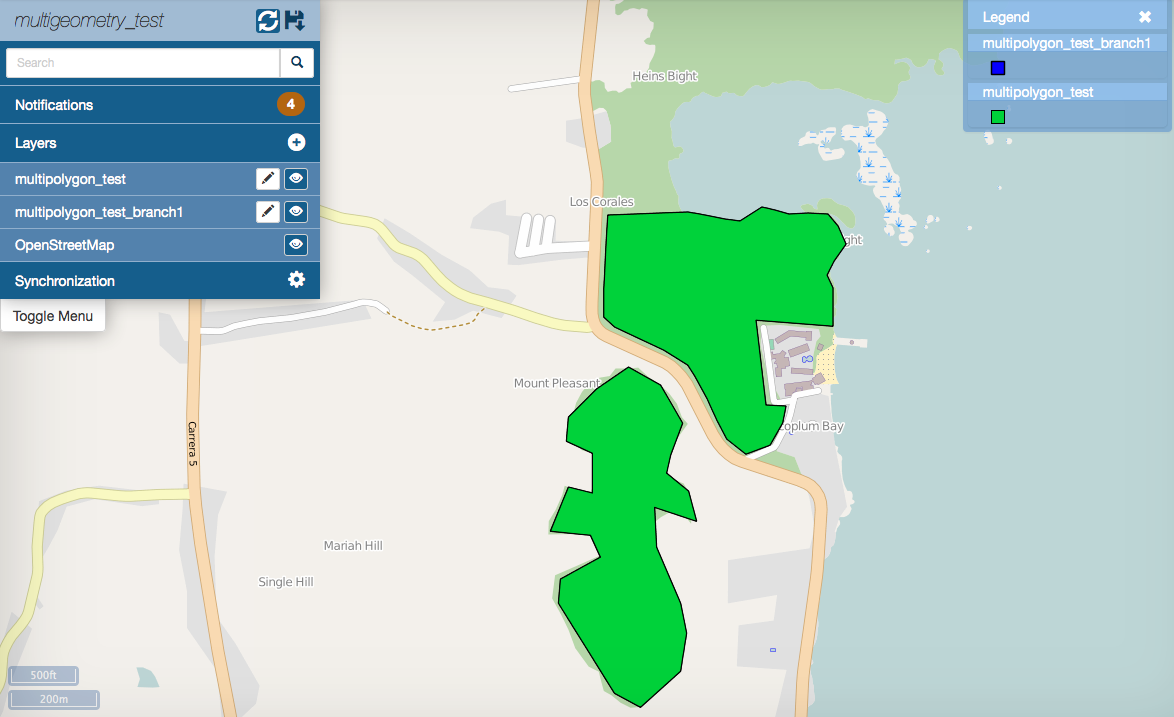
The screenshot below shows two layers. One is multipolygon_test and the other is multipolygon_test_branch1. The first layer is on the master branch and the second layer is on branch1. The second layer could have any name but it’s labeled this way to clearly distinguish which one is the branch. Note that the upper polygon in multipolygon_test_branch1 has been updated so that it’s larger. We want to bring that edit into master (multipolygon_test).
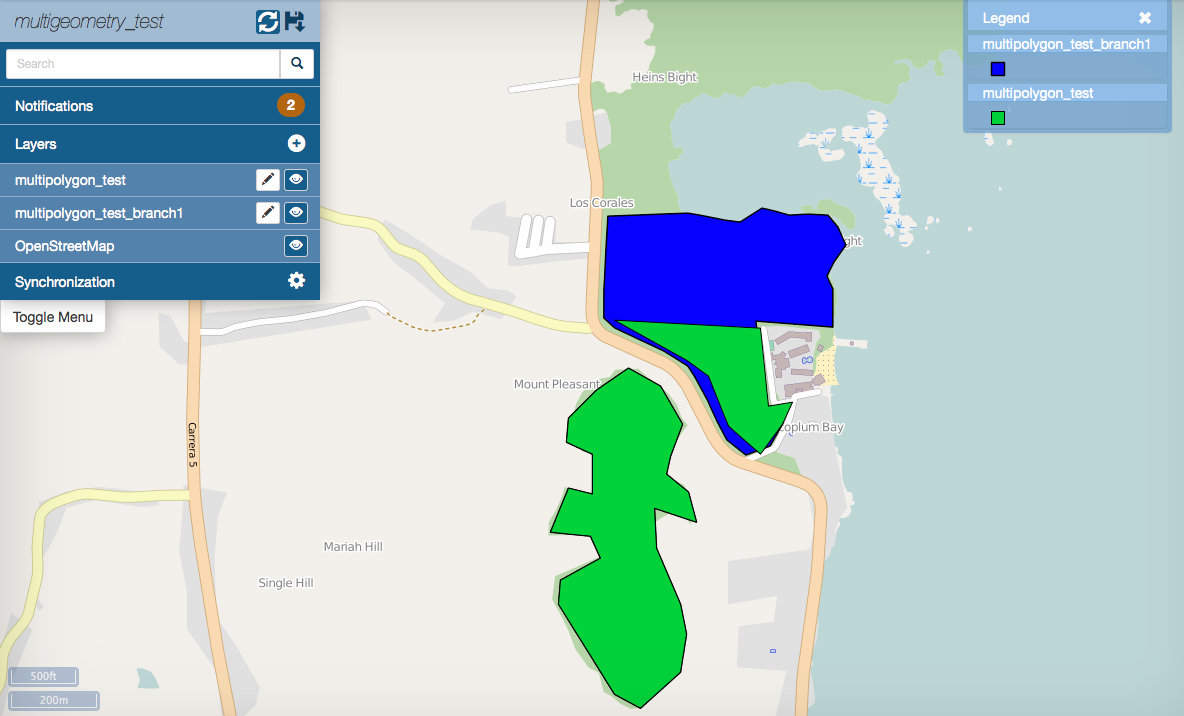
Two branches in the same map
Click on Synchronization. The Synchronization tab will expand.
Click on Merge to open the merge dialog.
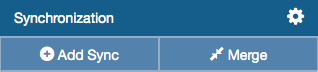
Merge Button
In the Merge window, click on the dropdown to select the repository.
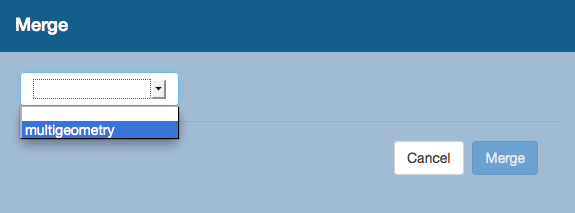
Select the Repository
Choose the branches to merge. In this case we are merging the edits from branch1 into master.
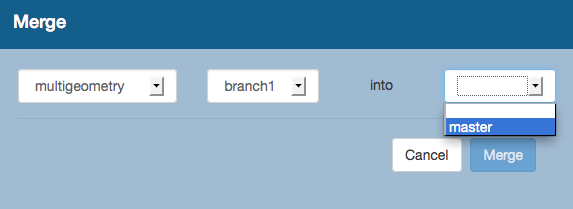
Select the branches to merge
Click Merge. The master branch is updated with the changes from branch1.
Completed merge
Conflict Resolution
Conflicts can occur during a merge if the same attributes or geometries for features have been changed in different ways on the branch. You can resolve conflicts in MapLoom. We will use the same branches in the previous scenario. The geometry and attribute for the feature have been changed on both branches.
If a conflict occurs during a merge, the Merge Conflicts dialog will appear in the map.
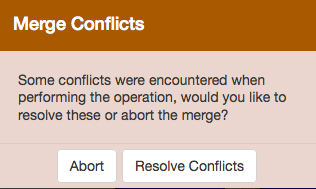
Merge conflicts dialog
Click on Resolve Conflicts. We see that there is one conflict here.
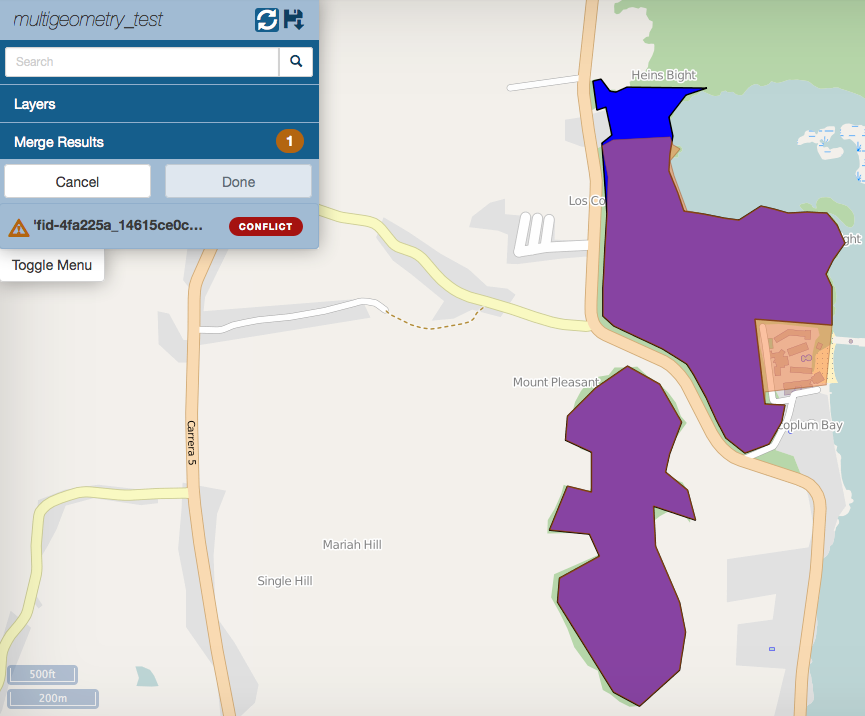
Merge conflict displayed
Click on conflict to move to the conflict resolution dialog.
Merge conflict resolution dialog
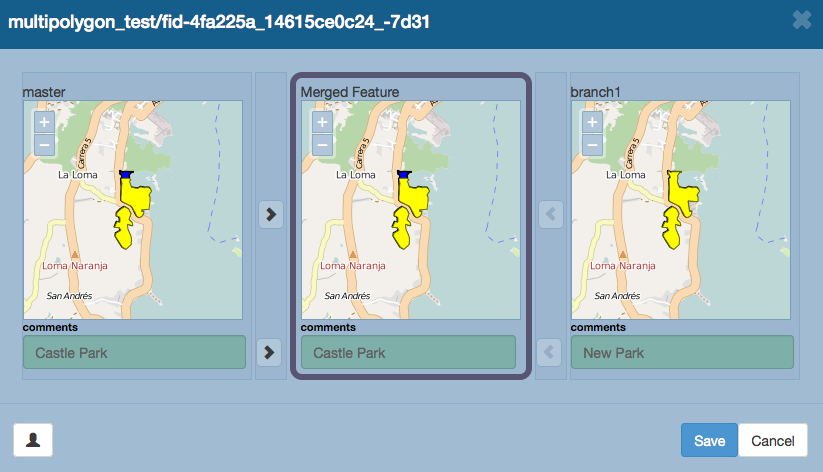
Click on the arrows beside the attributes to select the final state for the merged feature. In addition you can edit the attribute. In this case we select the geometry from branch1 and the comments attribute from master.
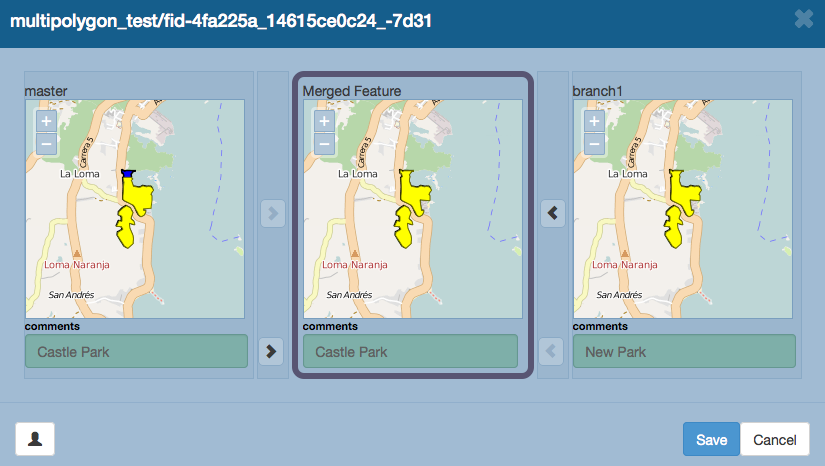
Final merge selections
Click on Save to finish and update. The map now displays the merged feature.
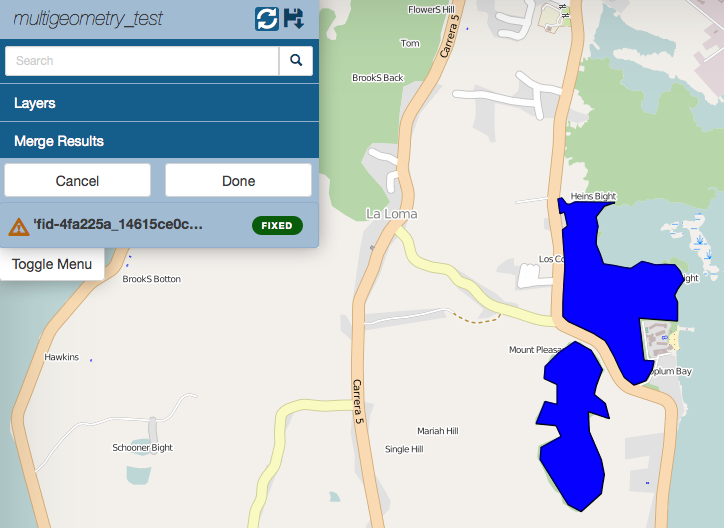
Merged feature
Click on the Done button under Merge Results to complete the merge. You will be prompted if you want to commit the merge.
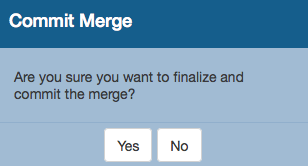
Commit merge dialog
Click the Yes button to finalize the merge.