Uploading a layer
Geoshape allows you to upload layers. The supported formats are shapefile, Geojson, KML, and GeoTiff. Once the layers are uploaded, they will be available to other users in Geoshape.
Click the Layers link on the top toolbar. This will bring up the Layers menu.

Main toolbar for Geoshape
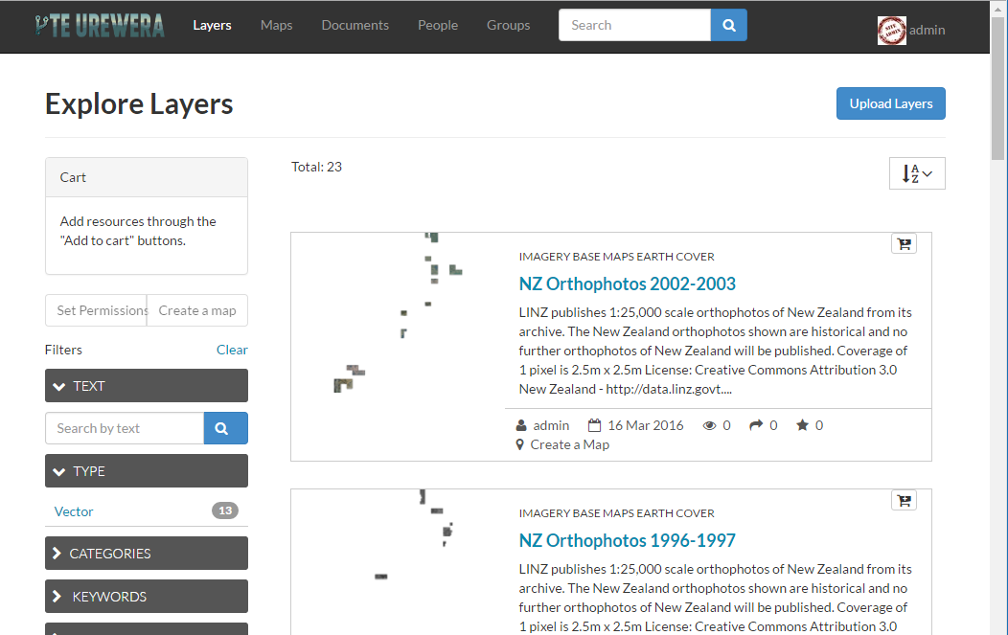
Layers menu
Click Upload Layers in the Layers toolbar. This will bring up the upload form

Layers toolbar
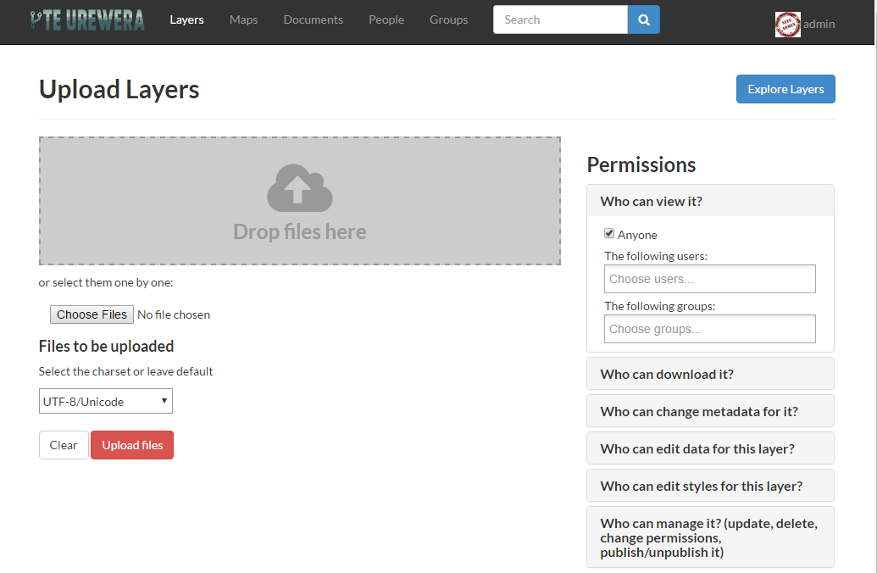
Upload Layers form
Either browse to the files to be uploaded or drag and drop them in the browser. Note that many files consist of multiple files to be complete. If you are uploading a shapefile, then you need to include the .dbf, .prj, .shp, and .shx files.
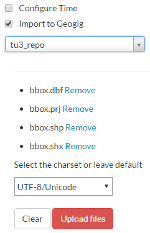
Click on the Browse... button. This will bring up a local file dialog. Navigate to your data folder and select all of the four files composing the geospatial layer. Note that some data formats consist of multiple files. If you are uploading a shapefile, then you need to include the .dbf, .prj, .shp, and .shx files. Alternatively you could drag and drop the four files in the Drop files here area. The upload form should appear like this now:
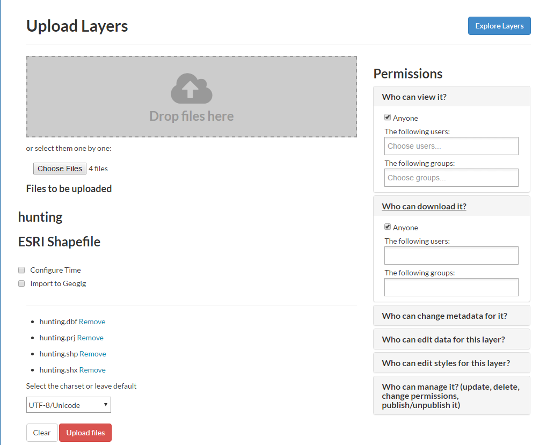
Files ready for upload
Geoshape has the ability to restrict who can view, edit, and manage layers. On the right side of the page, under Who can view it?, select Anyone. This will ensure that anonymous view access is disabled.
In the same area, under Who can edit data for this layer?, select the The following users or groups option and type your username. This will ensure that only you are able to edit the data in the layer.
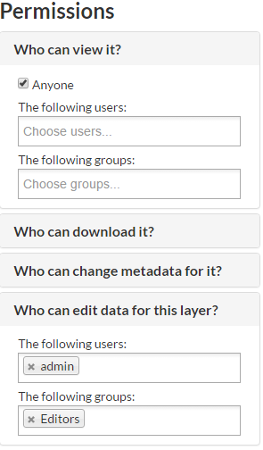
Permissions for new layer
If no destination is selected, the files will be imported into the default spatial data store for Geoshape. This will always be the destination for raster data. If you have vector data that you want to be versioned, then check the box for ‘Import to Geogig’. The form will update to provide a dropdown menu for existing Geogig repositories. To use an existing repository as the destination, select it in the dropdown. In order to import the data into a new Geogig repository: 1. type the name of the repository and 2. select that name in the dropdown so it appears in the field.
Click Upload to upload the data and create a layer. A dialog will display showing the progress of the upload.

Upload in progress
Your layer has been uploaded to Geoshape. Now you will be able to access to the its info page (clicking on the Layer Info button), access to its metadata edit form (clicking on the Edit Metadata button) or to manage the styles for it (clicking on the Manage Styles button).
